Most restraint enquiries begin with a vehicle type. It is a reasonable place to start a conversation and a poor place to end one, because vehicle type is a weak predictor of what a seating position actually needs. Two vehicles of the same category can present different anchorage geometry, different seat construction and very different duty patterns. This article sets out a sequence that gets to a defensible answer faster.
Starting with the wrong question
“What seat belt do I need for a [vehicle type]?” feels like the natural opening question. The difficulty is that it asks about a category when the answer depends on an installation.
Within any category, seating positions differ. A driver’s position has stable geometry and good access. An outboard rear position may have a folding backrest, a different anchorage arrangement and a buckle that sits low beside the cushion. A centre rear position frequently has its own arrangement entirely. These are all the same vehicle.
The more productive question is: “What does this position require, and what is it connected to?” That question can actually be answered.
A sequence that works
The following five steps move from the general to the specific. Each one narrows the field, and each is easier to answer than the last because the previous step has already removed possibilities.
Step 1 — Establish the seating position
Not the vehicle. The position. Driver, front passenger, outboard rear, centre rear, or a position in a purpose-built or adapted arrangement.
This matters because seating position determines much of what follows: how the belt routes, where the anchorages sit relative to the occupant, how accessible the buckle is, and whether the seat moves in ways the belt has to accommodate.

What to note
- Which position, precisely.
- Whether the seat slides, reclines or folds — and what the belt has to clear through that range.
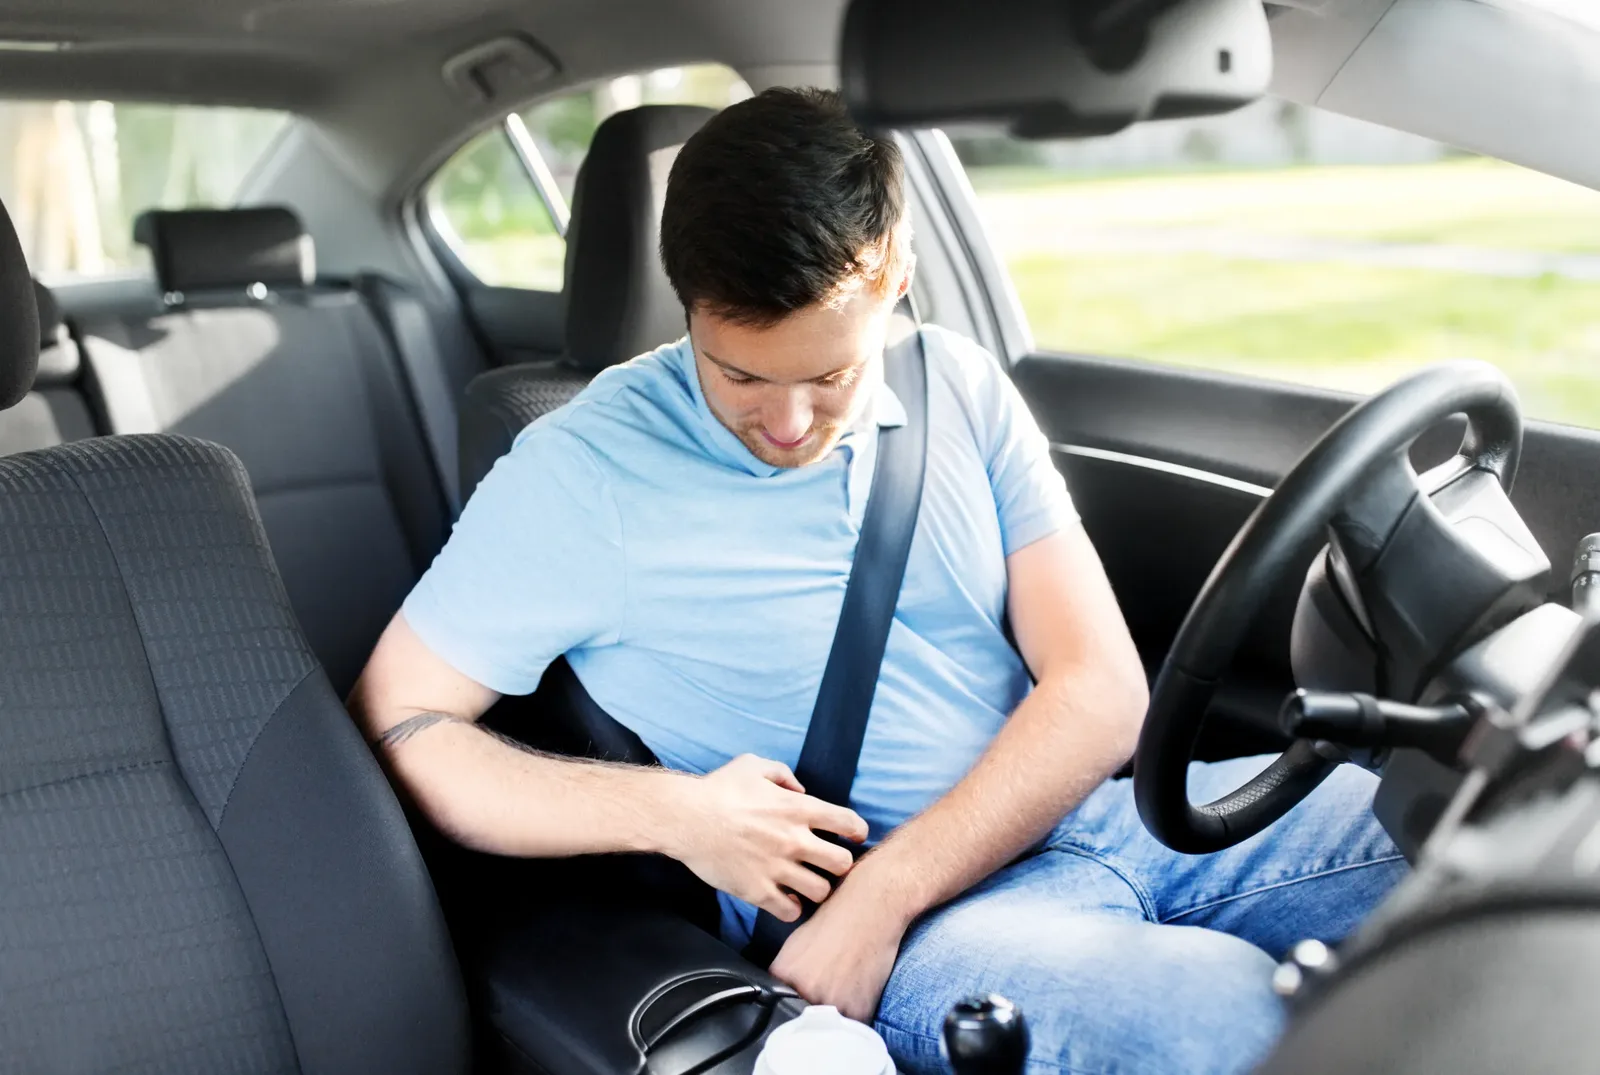
- How accessible the buckle is when someone is seated.
Step 2 — Establish the anchorage arrangement
Anchorage placement determines belt geometry more than any other single factor. Two positions with identical hardware and different anchorage placement produce genuinely different restraint geometry.
What is needed here is the arrangement as it physically exists: how many anchorage points are provided, where they sit relative to the occupant, and what structure they are secured to. Where the intention is a three-point arrangement but only two anchorage provisions exist, that is a finding worth surfacing at this stage rather than after a product has been ordered.
Anchorage and mounting work sits firmly within the vehicle manufacturer’s guidance for the specific structure involved. The purpose of this step is to establish what exists, not to decide what should be added.
Step 3 — Identify what is already there
Where a component is being replaced or added to an existing arrangement, identifying what is currently fitted is the single highest-value piece of information in the whole process.
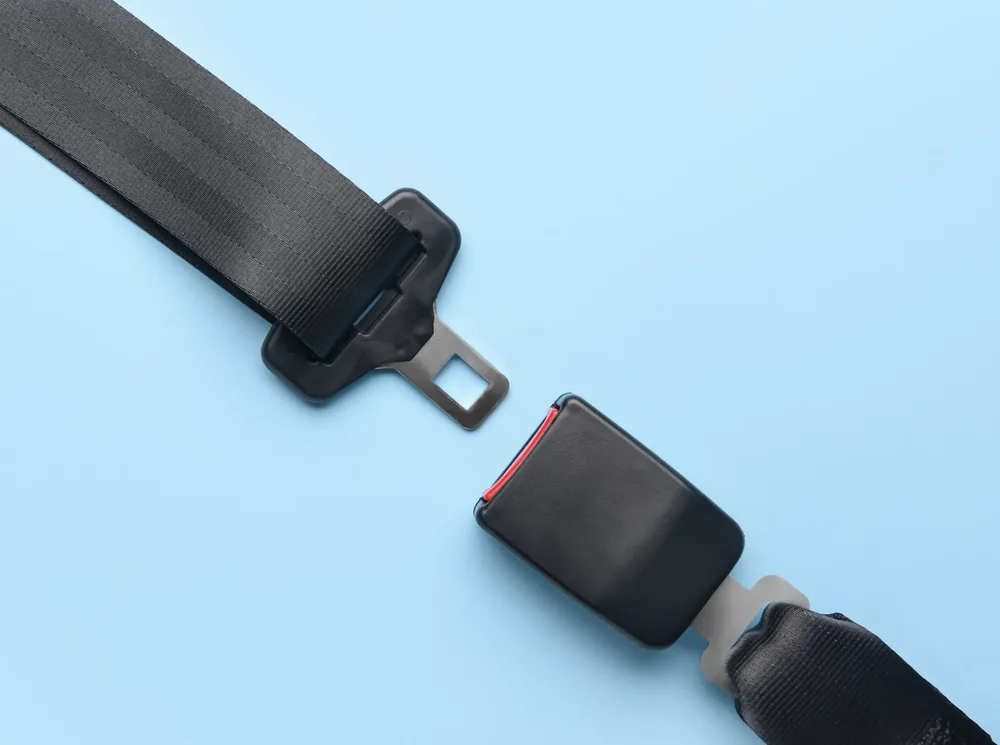
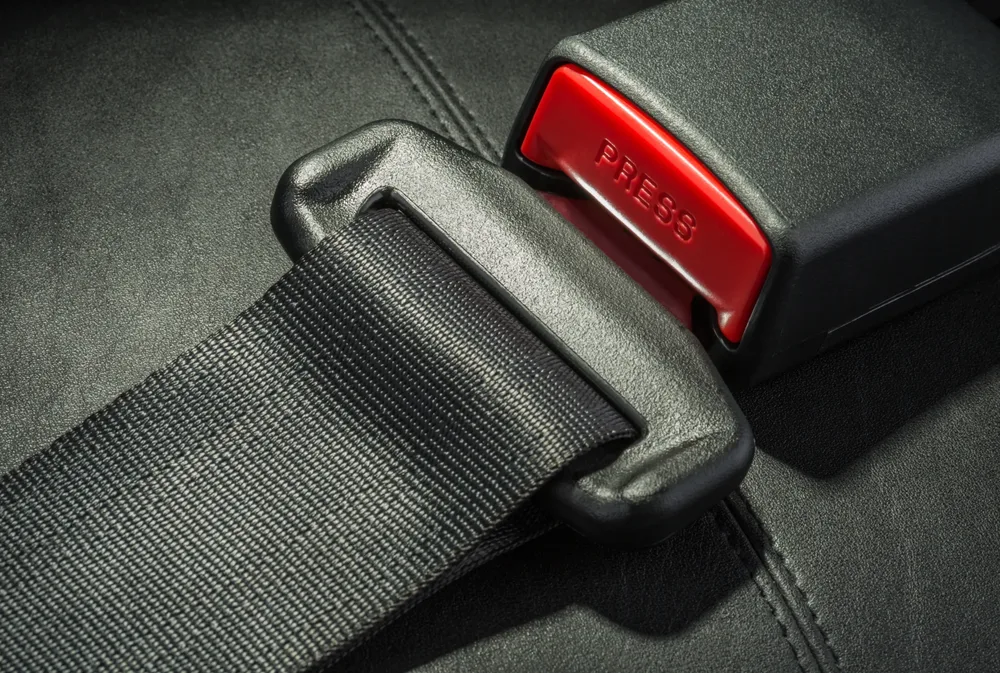
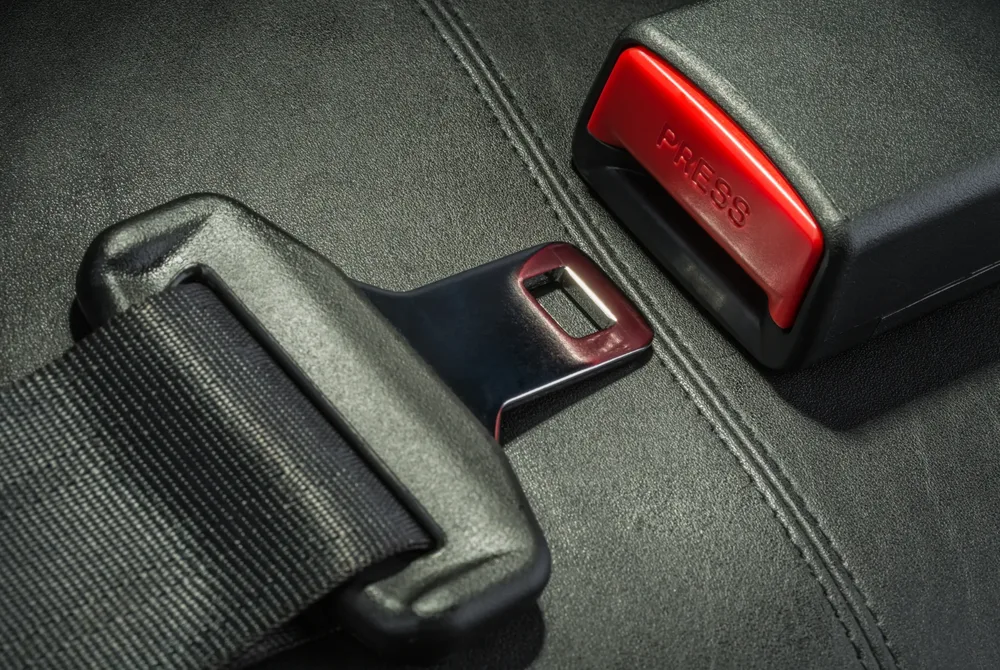
It answers compatibility questions directly rather than by inference. If the existing buckle is known, the tongue plate that mates with it is known. If the existing webbing width is known, the guides and slots it must pass through are constrained. If the existing retractor mounting is known, the envelope and exit direction for a replacement are known.
Ten minutes spent identifying what is currently fitted routinely saves more time than any other step in a restraint enquiry.
What helps
- Clear photographs of the installed system from several angles.
- Photographs of any markings on the hardware.
- Approximate dimensions, particularly webbing width.
- Photographs of the mounting points and surrounding structure.
Step 4 — Characterise the duty cycle
How often will this belt be fastened, and by how many different people?
A private vehicle used by one or two occupants generates a modest number of cycles. A commercial vehicle in multi-shift service, with different drivers each shift, generates a far higher number — often quickly, often with gloves or heavy clothing involved.
Duty cycle shifts which qualities matter. In a high-cycle environment, engagement that works first time without careful alignment matters more than refinement. Clean webbing return matters more, because the next user should not begin by untangling a strap. Consistency across a fleet matters a great deal, because users move between vehicles and carry their expectations with them.
Step 5 — Consider who will use it
Occupant variation affects belt geometry and comfort, and comfort affects whether a belt is worn correctly.
A position used by a wide range of statures benefits from geometry that works across that range — which is what upper anchorage height adjustment is for. A position where occupants routinely wear heavy or bulky clothing has different practical demands from one where they do not. A position where occupants may be in an awkward posture when fastening needs a buckle that is easy to locate by feel.
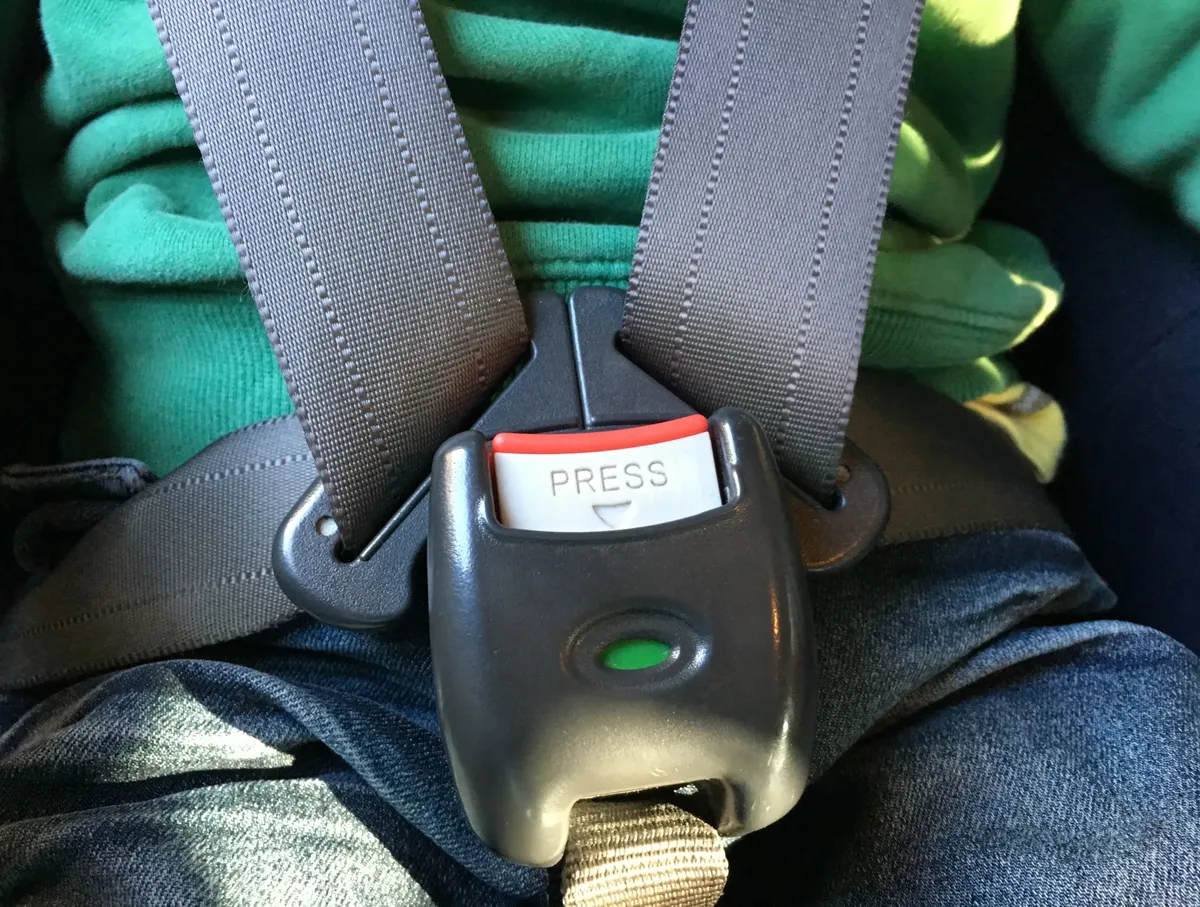
This step is also where the question of a multi-point harness arises, if it arises at all. A harness constrains occupant movement more evenly, at the cost of a longer fastening routine and additional anchorage requirements. That trade is worth making where the seating position and use case justify it, and not otherwise.
Only now: choose a configuration
With those five steps answered, configuration selection becomes comparatively straightforward — and often surprisingly narrow. The position and anchorage arrangement have already determined the belt path. The existing hardware has already constrained the interfaces. The duty cycle and occupant profile have already indicated which characteristics to prioritise.
What remains is matching a product family to those constraints:
- A complete assembly where the whole belt path is being supplied and the interfaces should be matched as a set.
- Individual components where a specific part is being replaced within an identified existing arrangement.
- A multi-point arrangement where the seating position provides the anchorage and the use case justifies it.
- An application-specific configuration where the structure genuinely does not map onto a standard arrangement.
Each of these families is described in detail on our products page, and the applications page covers what changes between application areas.
Four common pitfalls
1. Matching by appearance
Components that look alike are not necessarily compatible. A tongue plate that physically enters a buckle has demonstrated only that it fits through an aperture — not that it engages the way the pairing was designed to. This is the most common and most consequential error in restraint substitution.
2. Treating vehicle type as sufficient
The category tells you very little about the position. Positions within a single vehicle differ more than the same position across two vehicles of the same category.
3. Deferring the interface question
Interfaces are the expensive thing to get wrong and the cheap thing to check. Establishing what mates with what before ordering costs a conversation; discovering it afterwards costs considerably more.
4. Filling gaps with assumptions
Where information about an installation is unavailable, the honest position is that it is unknown. A stated unknown is a manageable risk. An assumption presented as a fact is not, because nobody downstream knows to check it.
Frequently asked questions
Seating position, anchorage arrangement, what is currently fitted (with photographs if possible), webbing width if known, how the vehicle is used and how frequently the belt will be cycled. Photographs of the installed system and its mounting points are usually more useful than a vehicle description alone.
Not reliably. Front and rear positions typically differ in anchorage geometry, access to the buckle and interaction with seat movement such as folding backrests. Each position should be assessed on its own arrangement rather than assumed to match another position in the same vehicle.
Where the seating position provides suitable anchorage and the use case justifies constraining occupant movement more evenly than a conventional belt does. A harness takes longer to fasten and needs additional anchorage points, so it suits applications where that trade is worthwhile rather than as a general-purpose alternative.
It changes which characteristics to prioritise. High-cycle use places more value on engagement that works first time without careful alignment, clean and complete webbing return, and consistency across vehicles — because users move between them and rely on the behaviour being the same.
A note on scope
This article provides general educational information about seat belt systems and their components. It does not constitute regulatory, safety or engineering certification advice for any specific vehicle. For any particular vehicle or restraint system, the manufacturer’s own documentation, inspection guidance and replacement criteria are the authoritative source and should always be followed.